Wednesday, February 22, 2023

Scrappy Jelly Roll Log Cabin Quilt

 Being unique is better than being perfect. 


Hey there from Nannyland,

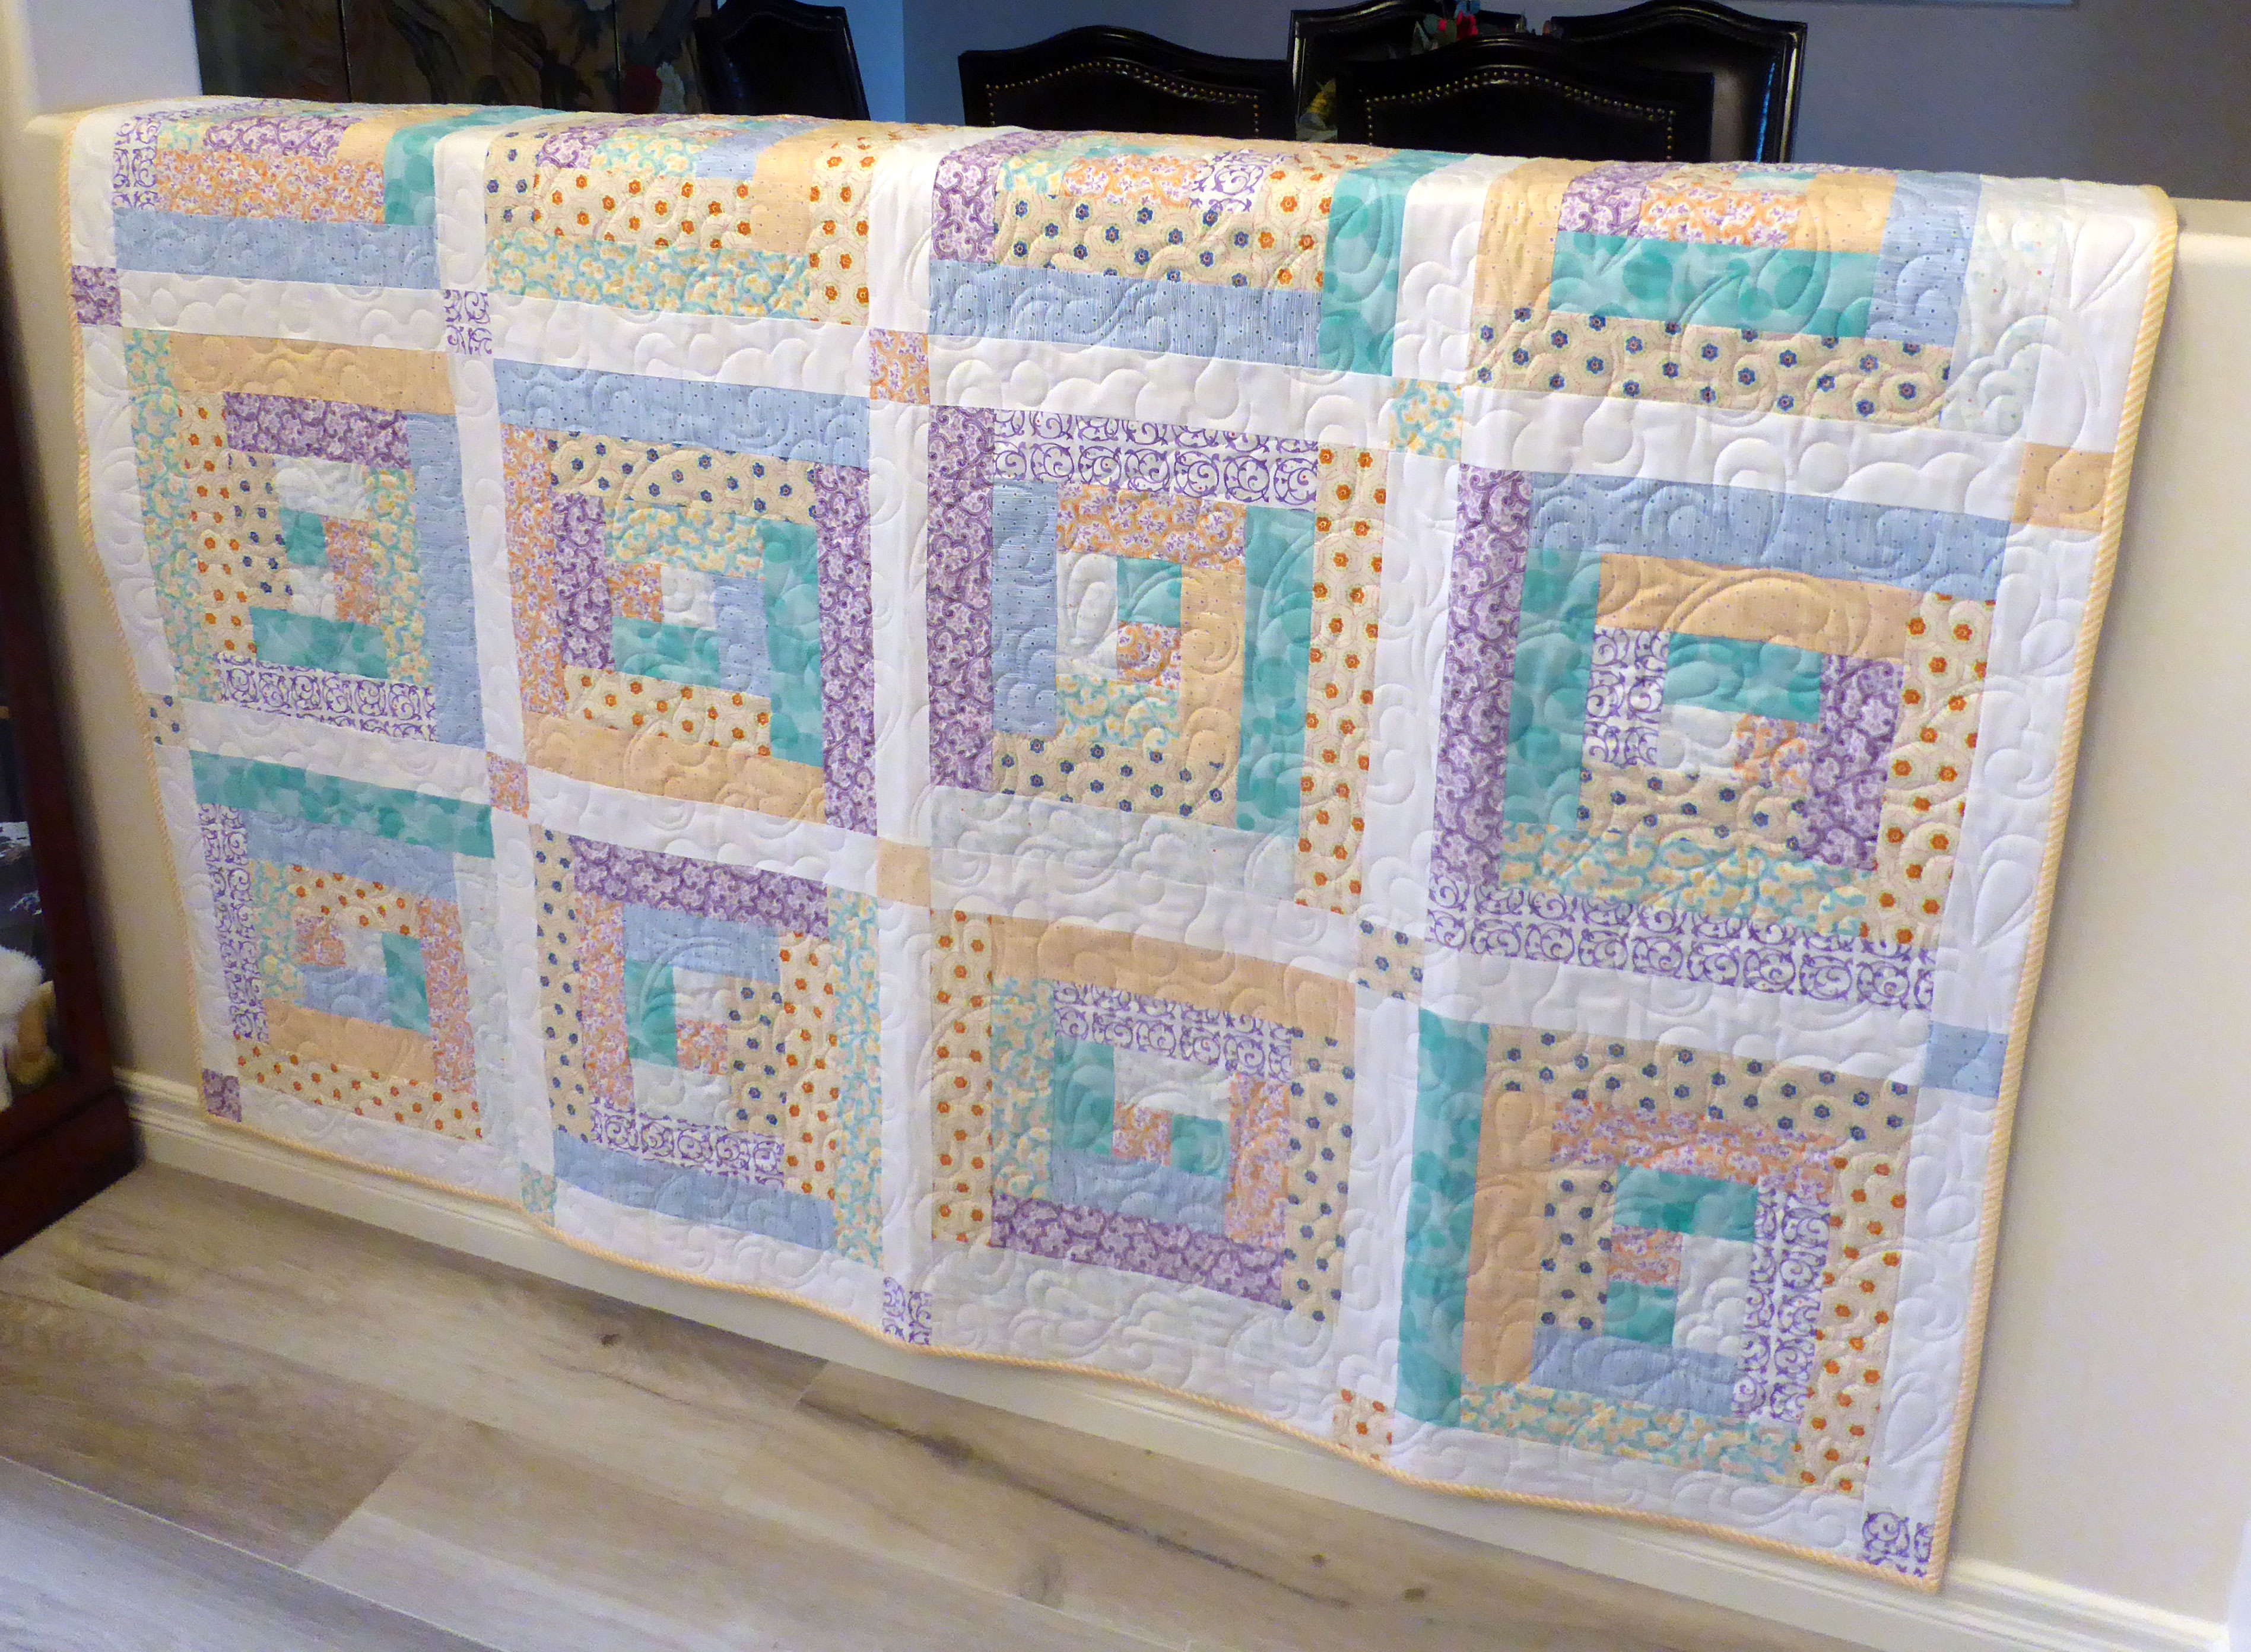
When I pieced this quilt top last summer, I called it my "Quick Quarantine Quilt," because I was cloistered in Nannyland with a mild case of covid.  I actually felt fine, so I was happy to take on this fun jelly roll log cabin quilt block project that I had been wanting to conquer for a long time. 


You can read on my post how I used several tutorials to narrow my process down and I really love how this quilt turned out.  My plan is to make several more with this delightful and simple pattern, and whittle down my significant jelly roll stash.  


I still can't believe how much I love the colors in this quilt, since this was my least favorite jelly roll in my stash when I picked it for my first attempt at this pattern.  It had much more subdued hues than my usual bright palette and I thought it might turn out blah.  I learned something from this exercise...I shouldn't limit myself to my "go to" palette all the time.  Branching out and experimenting with color is very satisfying.  


I took my quilt top to my favorite LQS for some beautiful quilting in a lovely swirly pattern. I'm having things quilted a little denser these days, as is the trend now, but I still like to keep my quilts soft and cuddly for my recipients.  


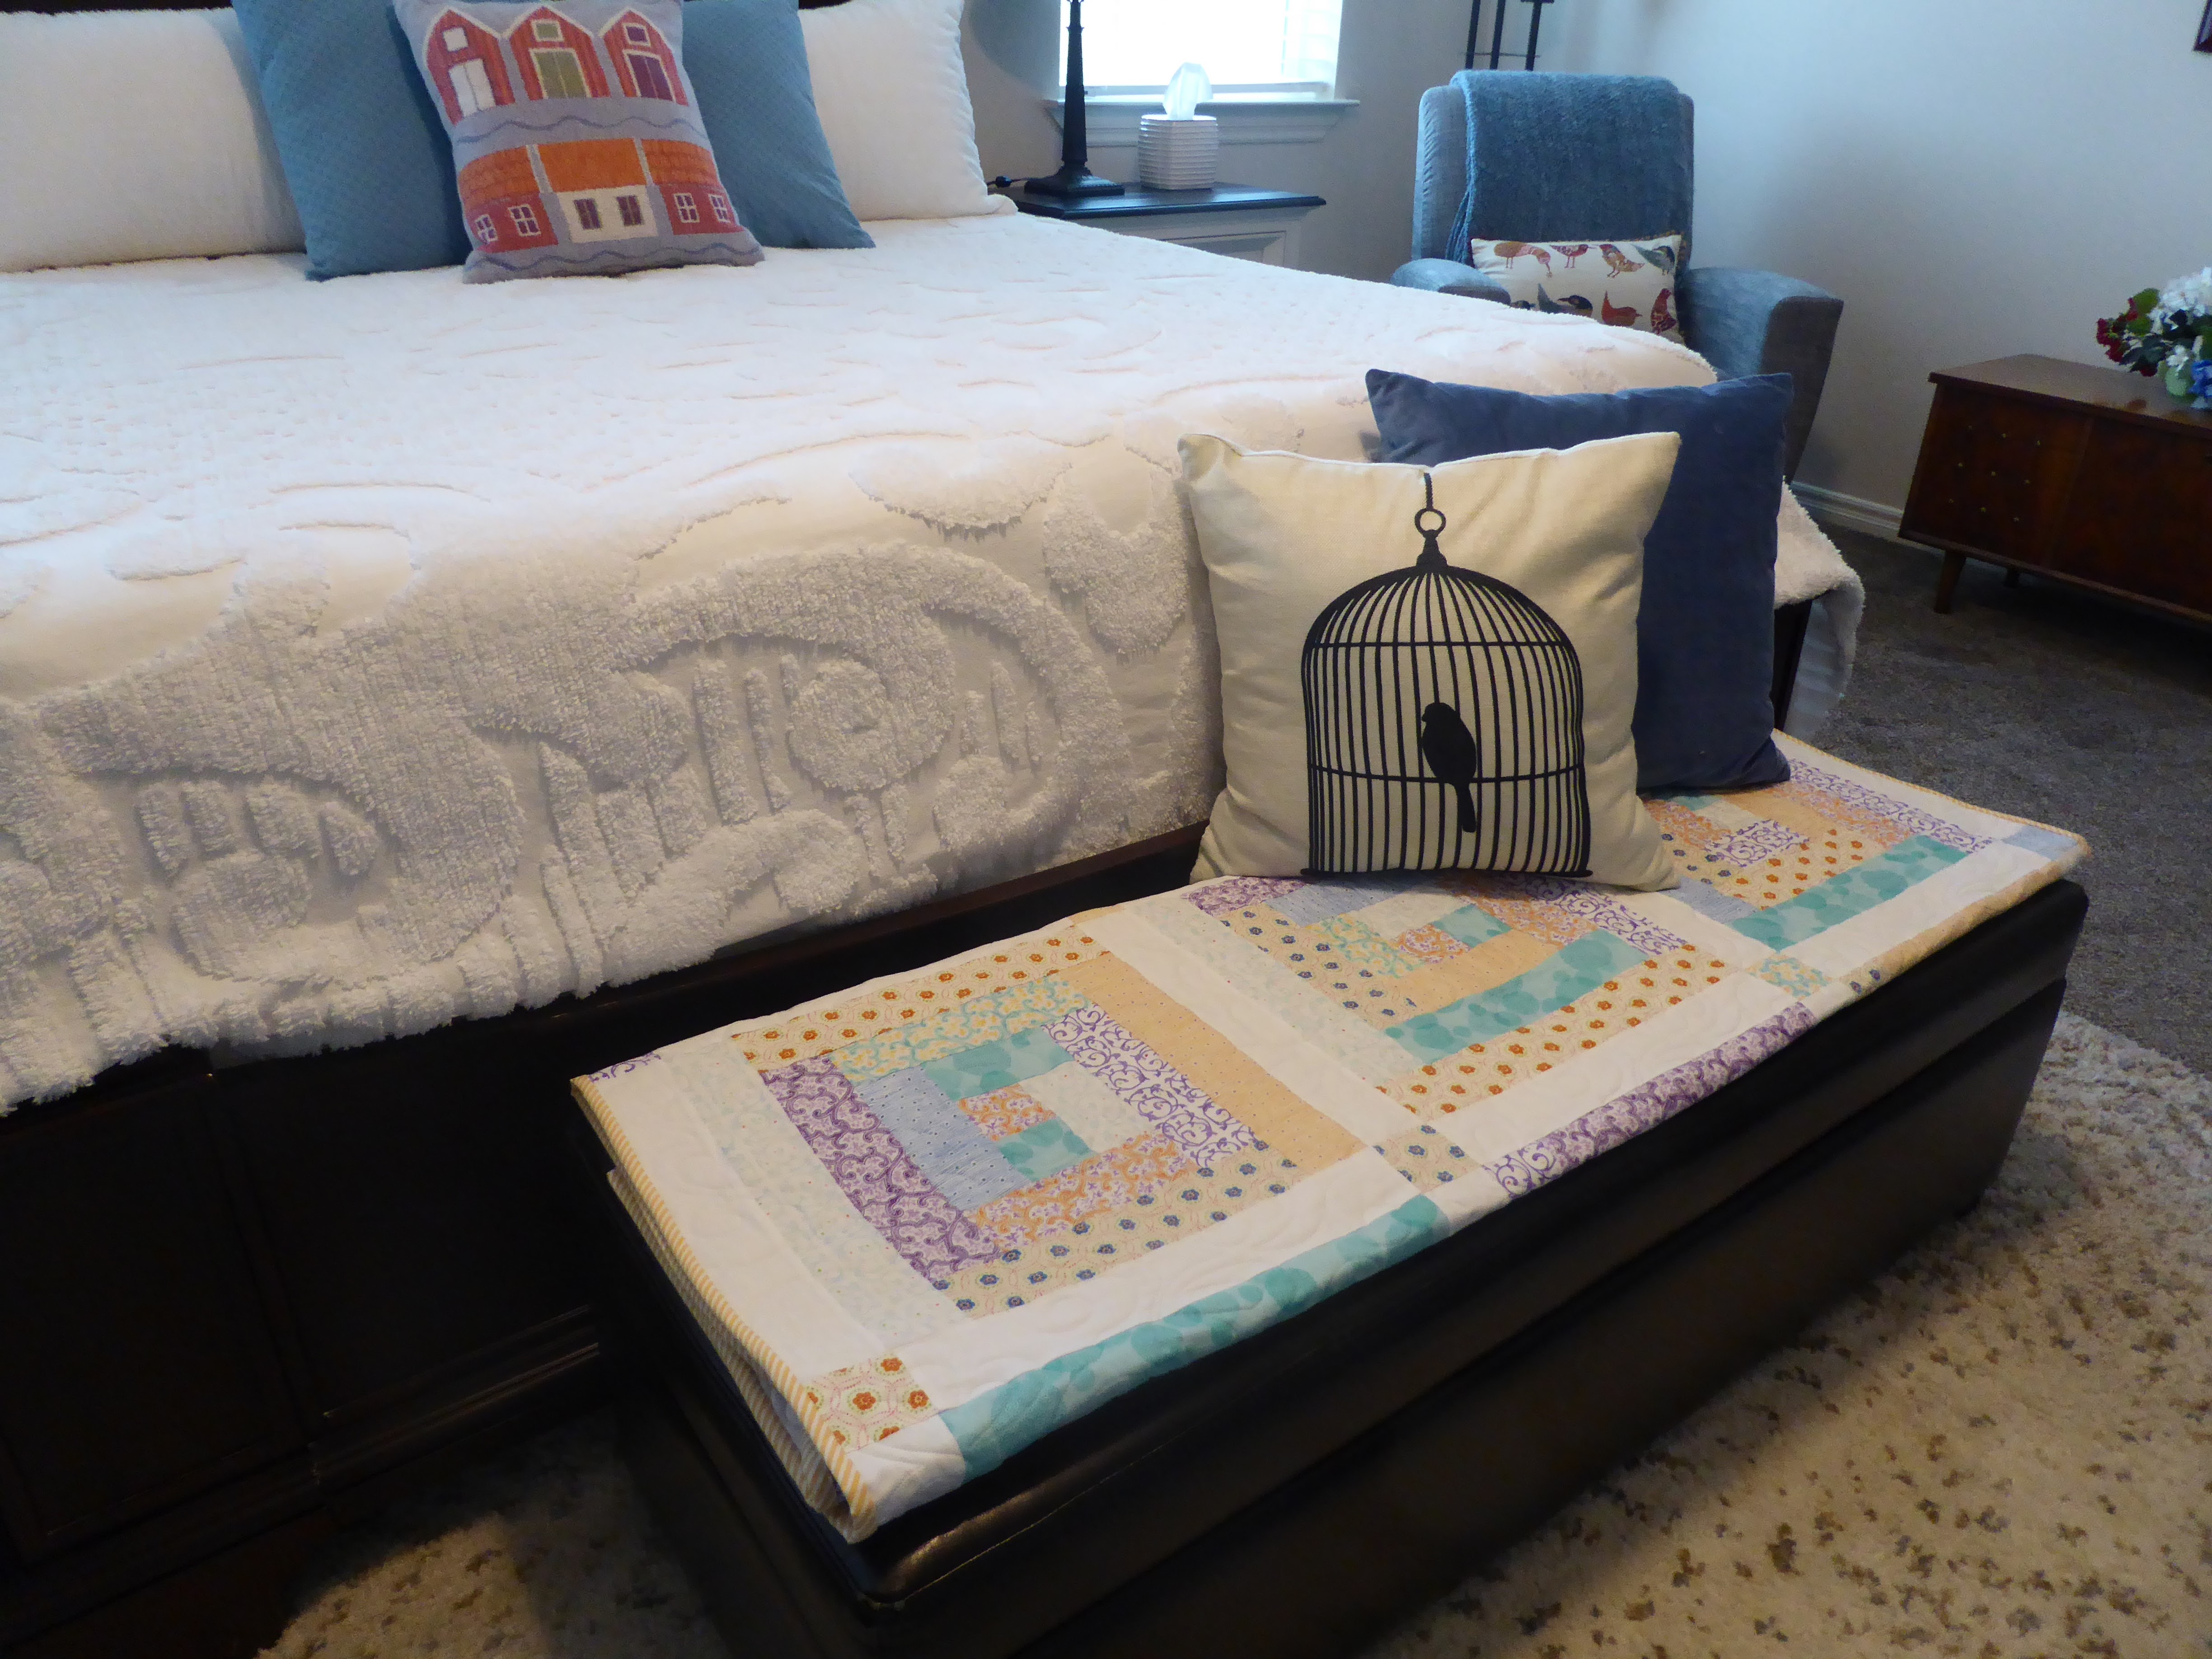
This quilt lives on the ottoman at the end of my bed in my master bedroom for now.  I'm planning to make the Accuquilt Go Quilt-a-long House bed runner when I get a chance and this quilt will find a new home.  It's funny, but I can't bear to give it away yet.  I just really love those colors!

Thanks for visiting Nannyland.
I'll just be here blissfully creating until your next visit. 
Nancy (aka Pink Panoply)

Thursday, February 16, 2023

Norma Burnell Poppies and Flutters Fairy - Let Your Spirit Soar

 Think about what could go right. 


Hey there from Nannyland,

Every now and then we need to quiet the tumult in our minds and let our spirits take off in fanciful flight.  I'm listening to some of my favorite music right now and thinking of all the wonderful possibilities that could be waiting for me in the future. Coloring this gorgeous Normal Burnell fairy helped to get me to this blissful place. 
 
I loved retreating to Nannyland to color all the tiny details of this amazing Norma Burnell digital stamp called Poppies and Flutters. I created a lacy Spellbinders frame to surrounded her and backed it with a black base layer.  I mimicked the bright chartreuse color in the leaves for my 5 x 7 card base and added gold gems to the flowers and purple gems to the corners of the frame.  I dotted her fairy wings with Stickles and added small details with a white gel pen.  The gold edged sentiment was created in Cricut Design Space using the writing feature.

I hope I have inspired you to free your mind of mundane thoughts and replace them with joyful ones to lighten your spirit.  Go forth and take some time to soar!

Thursday, February 9, 2023

Princess and Frog Z-fold Valentine - Vera Lane Kiss the Frog Digis

The only way to get what you want in this world is through hard work.
Tiana, the Princess and the Frog


Hey there from Nannyland,

I had the best time creating this quirky Valentine card for my wonderful soul mate of 50+ years.  Vera Lane's charmingly whimsical images just crack me up every time I use them.  Since guy cards are often a challenge for me, what with my girlie style and all, these unique images allow me to keep my fussy elements, but in a humorous, lighthearted way.  

I printed my elegant Kiss the Frog digital stamps on Xpressit blending card at 4 x 6 and colored them with Copic makers.  I knew it would be a little tricky to fit these larger images on the same card,  so my favorite Z-fold box card was the answer.  I lengthened the height to 5 inches and cut the base and layering panels out with my Cricut Maker.  I used the Cricut writing feature to create my sentiment. The closed card measures 5 x 7. 


My flowery meadow background scene is digital paper and my blooming tree is from the Cricut image library.  I gave myself permission to glam up my royal couple with all the regalia their status deserves.  I paper pieced my princess dress with a sweet, floral print and added a sparkly gem necklace.  I used colored pencils to create a plaid design for the frog's necktie.  The princess, frog, crowns nnd necktie are all adhered to the card with mounting tape for dimension.  Gems and pearls were added generously to add to the splendor of my majestic scene. 

I think my hubby will get a kick out of this very realistic depiction of our extraordinary relationship. I hope I have inspired you to add a little whimsy to your Valentines this year.  Go forth and create a chuckle for yourself and someone you love.

Thanks for visiting Nannyland.
I'll just be here blissfully creating until your next visit. 
Nancy (aka Pink Panoply)
Playing along with:

Thursday, February 2, 2023

Painterly Wishes - Spellbinders Artful Brush Dies

 You can't go back and change the beginning
but you can start where you are and change the ending.
C.S. Lewis


Hey there from Nannyland,

I always love the calm and serenity I experience with Copic coloring, but sometimes manipulating die cuts to create a colorful composition is the best way to bring calm to my unsettled soul.  Systematically arranging, attaching and embellishing are so satisfying and soothing. That was the case when I created these frilly paintbrush cards as I go through  testing and await some concerning medical results for the next couple of weeks. I love retreating into the safety of Nannyland to feel the unencumbered joy of creating and I always find the tranquility I seek here. 


These whimsical paintbrush dies are from Spellbinders and come in sets with large and small sizes and a variety of accessories to decorate them. I die cut the ferrules and handle tips in silver foil card stock and the wood embossed handles in white card stock. I used a fun drippy paint blob to embellish this paint brush, along with Heartfelt Creations handmade flowers, silver and purple punched swirls and leaves, and a silver layered butterfly that came with the set.  


Here I used the same embellishments and added some Copic coloring to the paint bristles

The size of the paint brushes perfectly fit into the stitched frames I used to create my slimline cards. I used Hero Arts stamps and dies to create the sentiments.  The Create Art sentiment was created in Cricut Design Space. 

I hope I have inspired you to assemble some beautiful art with your favorite dies.  Go forth and organized them into a beautiful masterpiece!